DESIGN
September 25, 2023

Salvaged Wood Planks vs. Reclaimed Wood Planks:
Finding The Right Sustainable Wood For Your Project

If you’re planning a new project for your home or business, you may be considering your different wood options and trying to decide what kind of wood planks are most suitable for your needs.


If you’d prefer to use sustainable wood, you have a few different options, including reclaimed wood and salvaged wood. Both kinds of planks can be used for flooring, siding, and accent projects. So how do you decide which kind of wood is best for your specific project?


First, it’s important to know what each kind of wood is and what benefits are associated with each.

What is Salvaged Wood?

Salvaged wood is a term that refers to wood planks that are recovered, or salvaged, from various projects or milling processes.


Salvaged wood planks are considered the byproducts of a process or project. These planks typically did not serve an initial purpose or were leftover from a project. Instead of being thrown away, the planks are salvaged and given new life in a new project.

What’s the Difference Between Salvaged Wood and Reclaimed Wood?

Reclaimed wood and salvaged wood are terms that may be used interchangeably because of the similarities of their origins. However, there are often differences between the two kinds of wood planks, their characteristics, and how they can be used.


So what is the difference between salvaged and reclaimed wood?


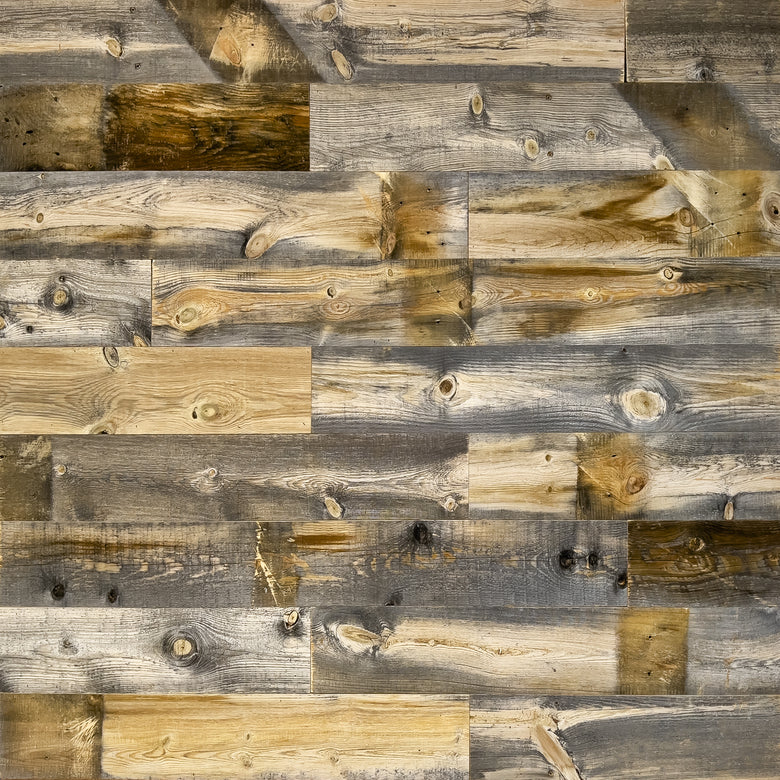
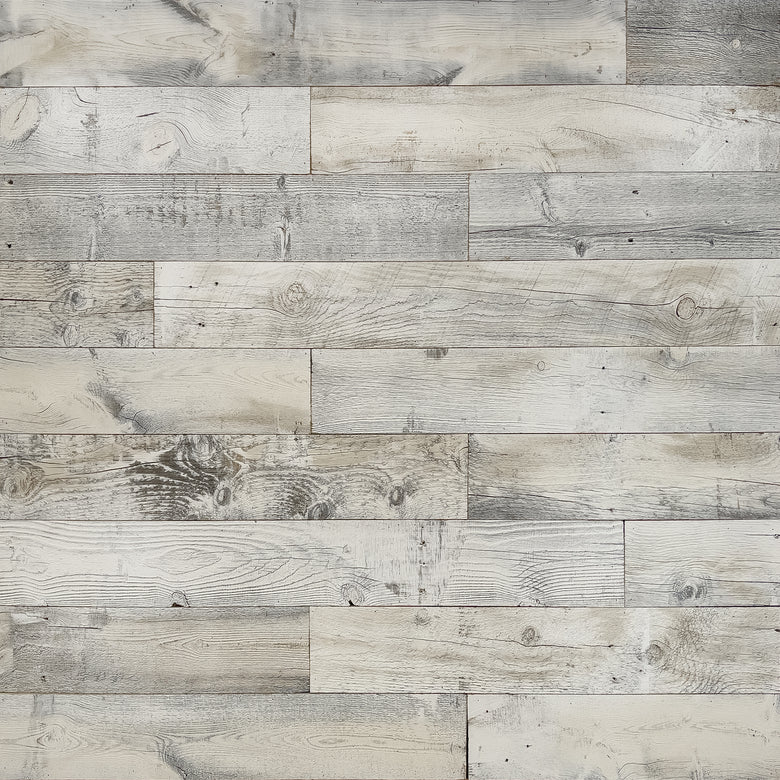
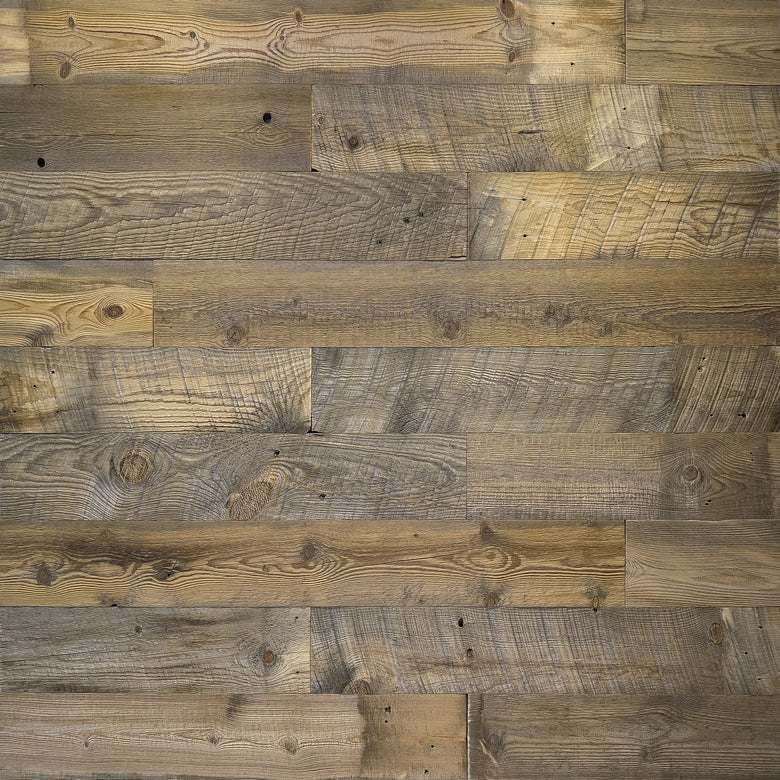
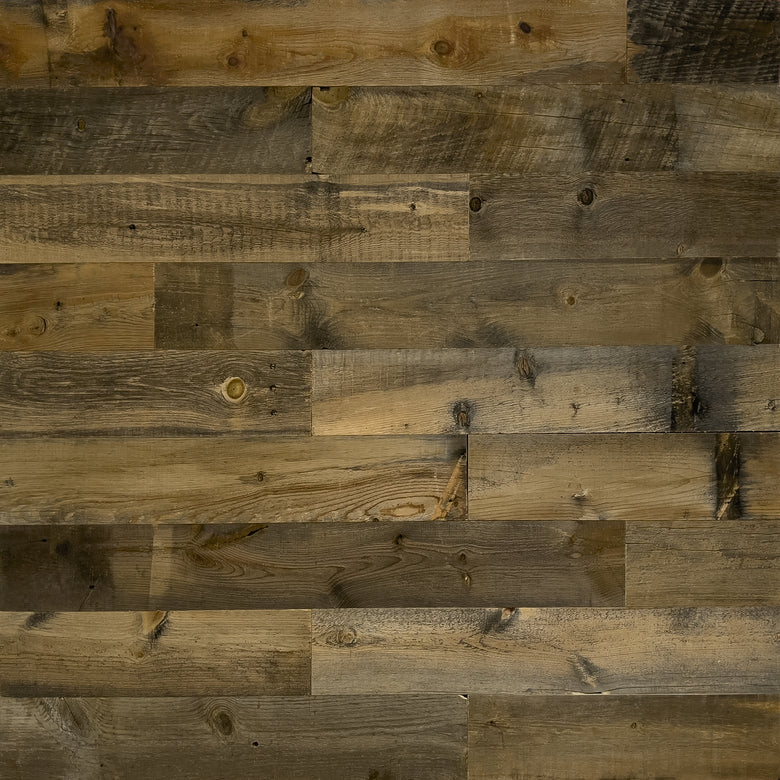
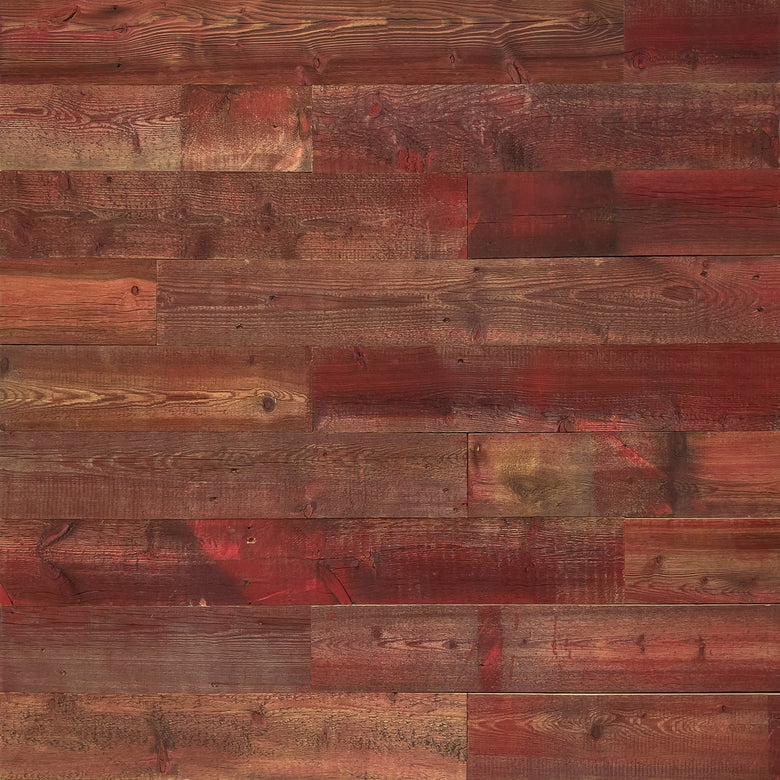
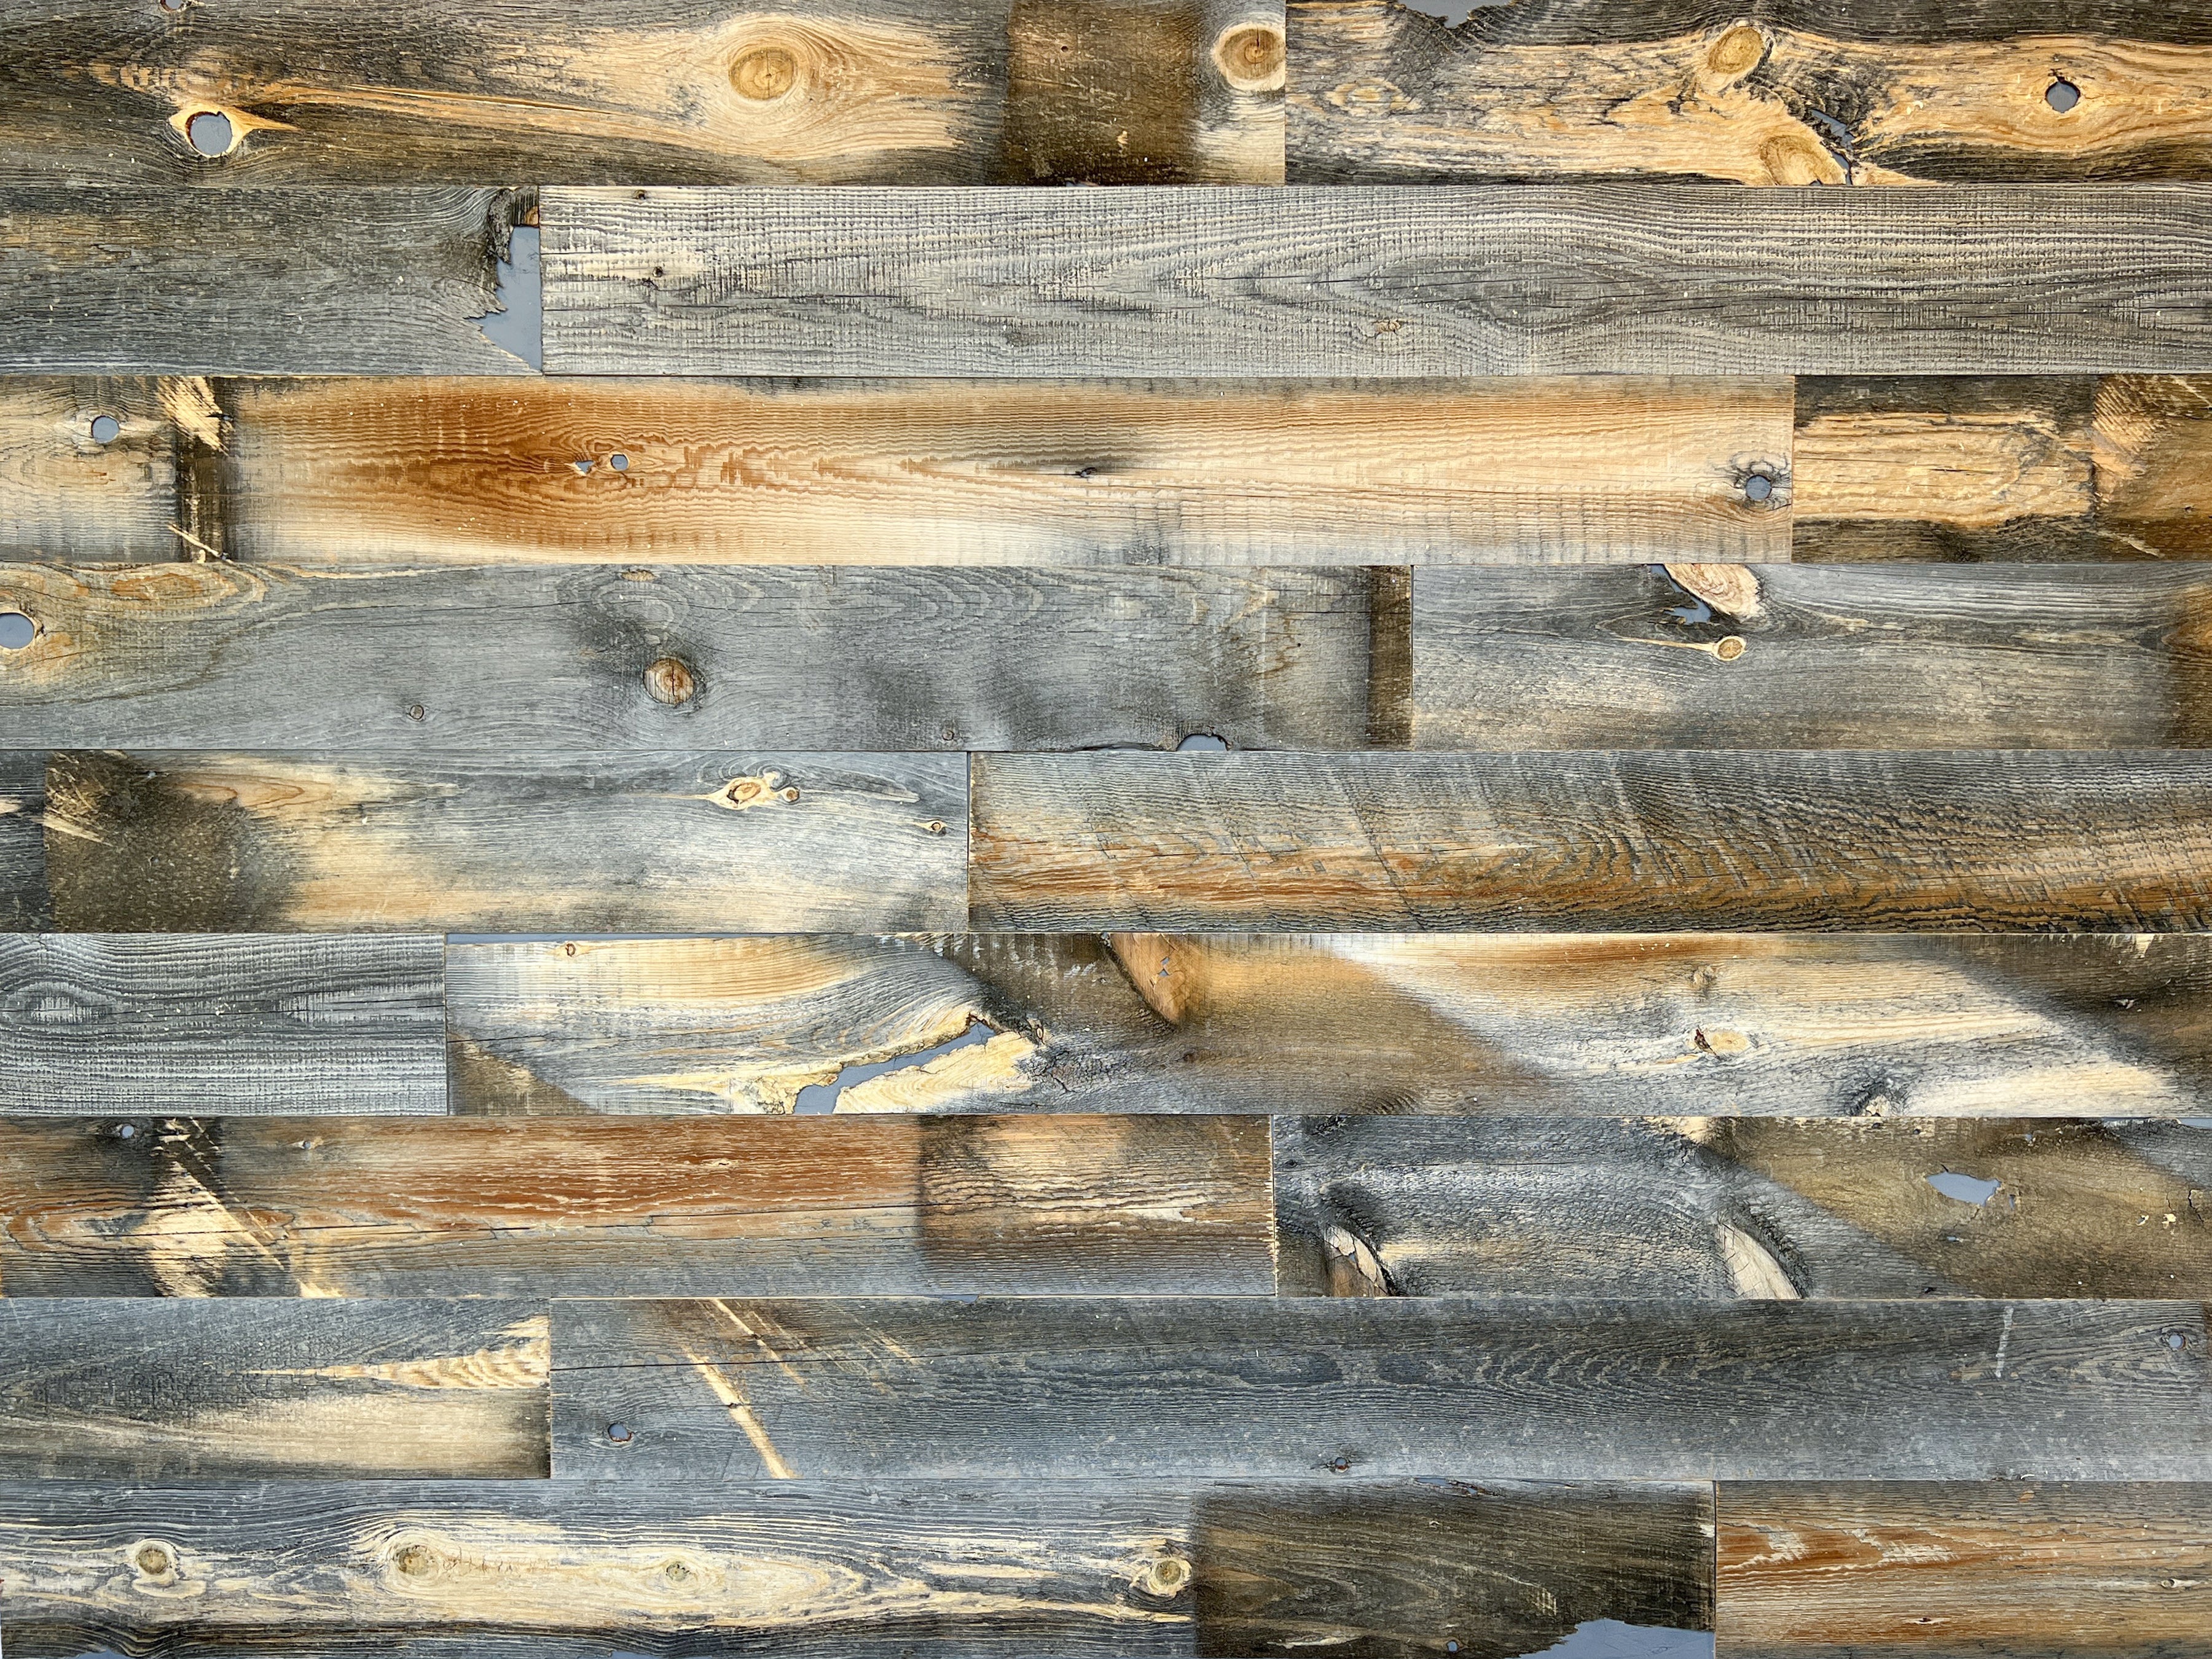
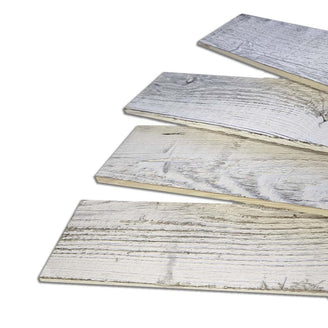
Reclaimed wood refers to planks that have been recycled, or reclaimed, and given a second purpose after serving an initial purpose. Reclaimed wood planks can come from a wide variety of sources, including barns, old buildings, gym floors, and snow fences. We go into more detail about the sources of reclaimed wood in our Ultimate Guide to Reclaimed Wood.


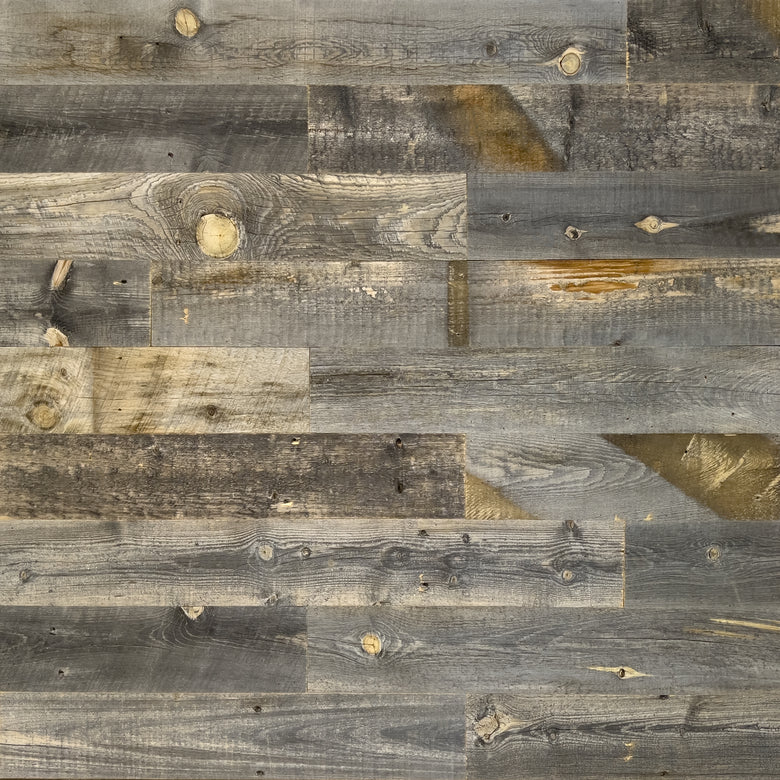
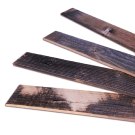
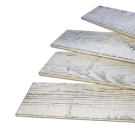
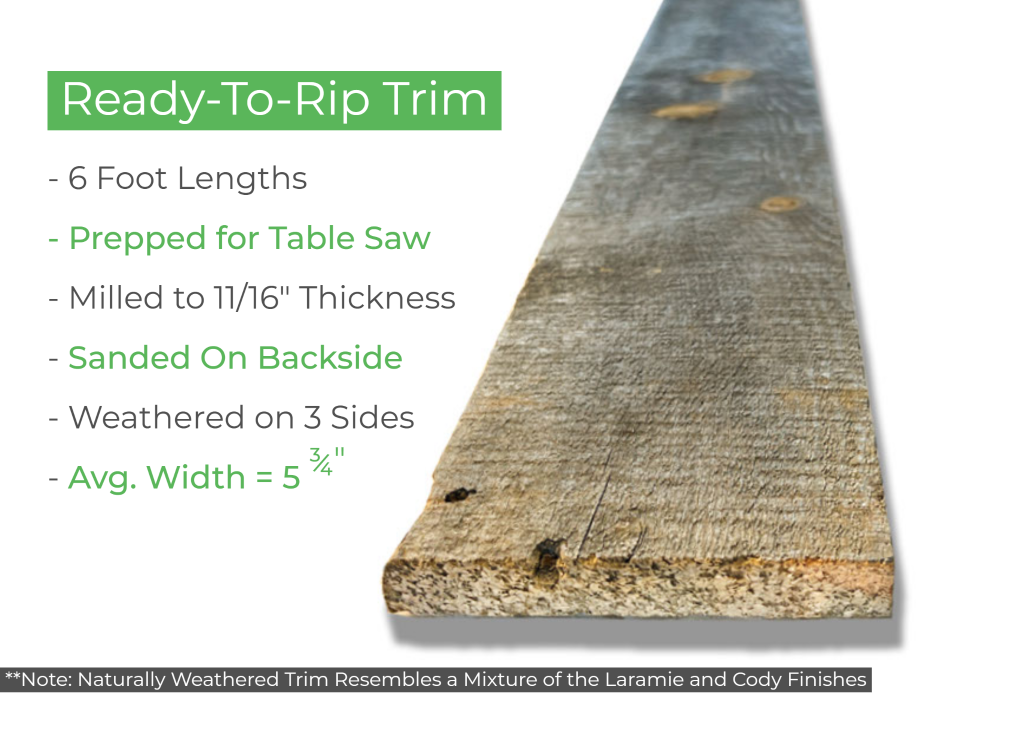
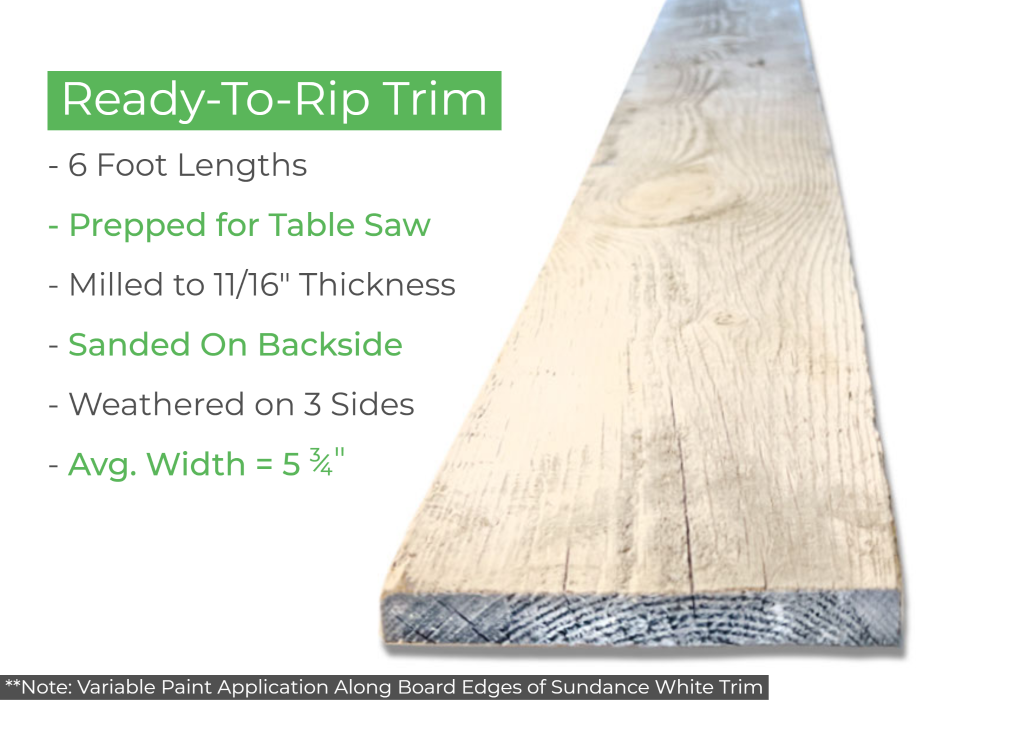
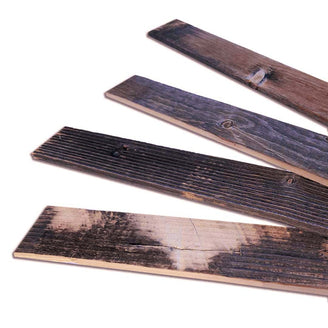
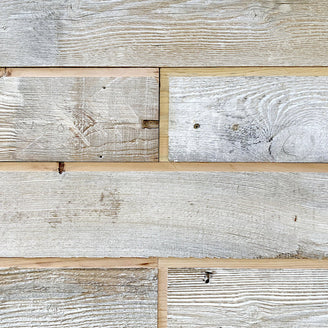
Salvaged wood, on the other hand, is typically the byproduct of a construction project or milling process. Salvaged wood planks often don’t serve an initial purpose, they’re just pieces of wood that were leftover and recovered.


But there are some exceptions to that. At Centennial Woods, for example, all of our wood - salvaged or not - is reclaimed and comes from the same source. That means the salvaged wood planks we sell were used in the Wyoming snow fences we build and maintain, just like our regular reclaimed wood.


The difference is our regular reclaimed wood planks go through our full reclaimed snow fence wood milling process, while the salvaged wood planks are just the byproducts of that process.

While reclaimed wood and salvaged wood are similar and have some shared benefits, each variation also has unique qualities that set them apart because of the difference in processing.

Suitable for Interior Use: Both

Both our reclaimed wood planks and salvaged wood planks are suitable for indoor projects.

Free Shipping: Both

We offer free shipping on both reclaimed wood and salvaged wood planks.

Budget Friendly: Salvaged Wood

Our salvaged wood planks are more budget-friendly because they aren’t the same quality as our regular reclaimed wood planks. The salvaged wood we sell is rough-cut with variable dimensions and includes imperfections like missing knot holes and chipped edges.

Returnable: Reclaimed Wood

While we ship both reclaimed wood and salvaged wood for free, we don’t offer returns, refunds, or exchanges on salvaged wood planks. Our regular reclaimed wood planks can be returned and refunded or exchanged.

Precision Milled: Reclaimed Wood

Unlike salvaged wood, our reclaimed wood planks are precision-milled to a consistent width and thickness, quality sorted, and then pre-cut to lengths of 1 to 4 feet. The process helps us reduce the amount of material that may be trickier to work with so we can provide the highest quality reclaimed wood to our customers.

Consistent Dimensions: Reclaimed Wood

Precision milling also helps us keep dimensions consistent for our regular reclaimed wood planks. Because salvaged wood is rough-cut, dimensions are variable.

Multiple Finishes: Reclaimed Wood

Only our reclaimed wood planks come in various finish options. Salvaged wood planks are not finished, but will likely resemble a mixture of the finishes we offer.


You can view our full chart comparing reclaimed wood and salvaged wood below.

The bottom line when it comes to choosing between salvaged wood and reclaimed wood is that it depends on how much time and effort you want to dedicate to your project.


If you’d rather use wood that comes to you ready to be installed, our reclaimed wood planks are probably your best choice. But if you’re okay using wood that may require some additional work on your end, you can save some money by choosing our salvaged wood planks.


Working with Salvaged Wood

If you choose to use salvaged wood for your project instead of finished reclaimed wood, the first thing you have to do is decide what kind of result you’re aiming for and how much variability you’re comfortable with. Your choice will determine what tools you’ll need and the steps that you’ll follow.

Different Levels of Salvaged Wood Projects

The amount of additional time and work you put into a salvaged wood project compared to a reclaimed wood project really comes down to what category your project falls into:

  • The “Looks Better Than Before” Project: A quick DIY project that results in a rustic, variable aesthetic that looks better than before
  • The “Worth the Effort” Project: A DIY project that requires more time and effort but leaves you with a finished product that was worth the effort
  • The “Told Ya I Could Fix That” Project: A project for serious DIYers who have access to equipment and are comfortable putting in the time and effort it takes to turn salvaged wood into a professional quality accent feature so they can tell their doubters, “told ya I could fix that”

The level of project you decide you want to commit to will determine the kinds of tools and steps involved.

Beginner Projects with “Looks Better Than Before” Results

This level of salvaged wood project is ideal for DIYers who:

  • May not have access to woodworking tools or supplies
  • Want a project they can get done quickly
  • Don't mind an end product with a rustic look

Tools:


One of the most time-consuming steps of salvaged wood projects is going through and cutting the planks to achieve consistency in appearance. But since these beginner projects will have a more unrefined result, it’s okay to have inconsistencies like knot holes, cracks, and variable plank thicknesses and widths.


DIYers who have a higher tolerance for those inconsistencies will have to make fewer cuts, which means additional tools or supplies may not even be required. If that’s the case, you’ll just need the tools you would use for a regular reclaimed wood project.

  • Construction Adhesive
  • Caulk Gun
  • Brad Nailer
  • Brad Nails
  • Hand Saw or Electric Saw
  • Pencil, Tape Measure, & Level
  • Painting Supplies (optional)

Image From The Home Depot

Image From The Home Depot

Images From The Home Depot

Images From The Home Depot

Images From The Home Depot

Steps:


The installation process for beginner-level salvaged wood projects is the same process you would use if you were installing a regular reclaimed wood wall. You can follow the steps in our “How to Install a Reclaimed Wood Wall” guide to install your salvaged wood.

“The end result? A quick-and-dirty project with no additional steps, resulting in a rustic and variable aesthetic, but hey, it ‘looks better than before.’” - Jeff Landstrom, Centennial Woods Online Sales & Support


Pro Tip:

During your project, it’s important to keep the variability of your salvaged wood planks in mind. Because there’s so much variation, you should be prepared to use variable amounts of construction adhesive and nails per plank. Some planks and sections could require more adhesive and nails than others.


Intermediate Projects with “Worth the Effort” Results

This level of salvaged wood project is a perfect middle ground for DIYers who are looking for a more refined end product but still don’t want to dedicate a ton of additional time or resources to their project. These are ideal for DIYers who:

  • Are okay with some level of variability in the appearance of their planks
  • Have access to some woodworking tools
  • Are comfortable putting some additional money into the project

Tools You’ll Need:


These projects will use the same tools as the beginner-level project but may require some additional supplies to help achieve a more refined look. In addition to the tools listed above, you’ll need:

  • Miter or “Chop” Saw
  • Paint Pen or Jumbo Sharpie (optional)

Image From The Home Depot

Steps:


One of the first steps for these projects is to cut all your planks on the miter or “chop” saw to eliminate as much variability as possible. Cutting the planks will help make the widths and thicknesses more consistent, and help get rid of sections that have knot holes and cracks.


You’ll also want to color your installation surface to help hide gaps, cracks, nail holes, and more. This can be done with a paint pen or jumbo Sharpie, but the most effective way is to paint the surface a dark neutral color.


Paint pens or Sharpies can also be used to color the edges and ends of planks. Cutting the planks will help eliminate some inconsistencies but will still leave a fair amount of raw pine edge showing. If you’re not into that look, you can run your Sharpie or paint pen along the edges to help blend depth variability. This will help make any differences in thickness from one plank to the next less noticeable.


Once you’ve completed those steps, you’ll follow the same installation process you would use for a regular reclaimed wood wall.

“At the end of the project, this DIYer will achieve a look that is close to what you'd expect to get out of the standard reclaimed wood planks, but with some additional rustic character and variability. They will have spent some more time on the project, but for $2.20 per square foot, it was ‘worth the effort.’” - Jeff Landstrom, Centennial Woods Online Sales & Support


Pro Tip:

Similar to beginner projects, you’ll want to keep plank variability in mind when using construction adhesive and nails. You may have to use more on certain sections and less on other planks.


You’ll also want to keep that variability in mind when you’re purchasing salvaged wood for your project. While a healthy amount of overage is factored into each bundle of salvaged wood we ship, there may be planks that fall outside your tolerance level for variability. Whether a plank has too many knot holes or is too inconsistent in thickness compared to your other wood, there will likely be some planks you don’t want to use for your project. Because of that, we suggest purchasing one, or even two, extra bundles of salvaged wood for your project so you don’t come up short.


Expert Projects with “Told Ya I Could Fix That” Results

This kind of project is perfect for more experienced DIYers who:

  • Have access to woodworking equipment
  • Want a professional-quality end product
  • Are okay with putting extra time, effort, and resources into their project

Tools You’ll Need:


This level of project will require more tools and supplies than the others because you’re going for a high-quality finish. In addition to the previously listed tools required for installation, you’ll also need:

  • Wide-Belt Sander or Drum Sander
  • Miter or “Chop” Saw
  • Pin Nails or Brad Nails
  • Pneumatic/Battery-Powered Nail Gun or Pin Nailer

Image From The US Tool Depot

Image From The Home Depot

Image From The Home Depot

Image From The Home Depot

Steps:


The first step for this kind of project involves sanding the salvaged wood planks to give them a consistent thickness. While the thickness you sand to will be linked to the original average thickness of the salvaged planks you received, it’s best to aim somewhere around 1/8" or 1/4".


Once your planks are sanded, you’ll use a saw to cut the wood. This will help eliminate any inconsistencies that can’t be sanded out, including heavy knot holes, cracks, and edges that aren’t squared.


After those first two steps are done, the installation process will be nearly identical to a standard reclaimed wood installation. However, if the planks used for your project end up with an average thickness that’s close to 1/8", you’ll probably be able to use pin nails instead of brad nails. Pin nails have an even thinner gauge than brad nails and are nearly invisible against the weathered surface of the planks.


“When this project is wrapped up, these DIYers will look at those who doubted their ability to turn salvaged wood into a professional quality accent feature and say, ‘told ya I could fix that!’” - Jeff Landstrom, Centennial Woods Online Sales & Support


Pro Tip:

This level of project will have the lowest tolerance level when it comes to inconsistencies in the wood. Some of the planks that come in salvaged wood bundles won’t be able to meet that tolerance level, no matter how much extra work you put in. There will be knot holes and cracks that can’t be avoided or planks that are thinner than the thickness you decide to sand to. Some weaker planks may not even survive the sanding process. As we advised for the intermediate DIYers, we suggest purchasing an extra bundle or two so you don’t run out of wood in the middle of your project.


Whether you decide to use finished reclaimed wood planks or rough-cut salvaged wood that requires a bit more time and effort, any residential or commercial project that includes repurposed wood is going to add a charming, rustic touch to your space.


Shop Our Savalged Wood & Reclaimed Wood Products


If you have any questions about your project or the differences in wood planks, contact us.